Mastering Lighting: Natural vs. Artificial Light
Light is the very essence of photography—the word "photography" itself comes from Greek words meaning "drawing with light." Understanding how to work with different light sources is perhaps the most important skill a photographer can develop. In this comprehensive guide, we'll explore both natural and artificial lighting, their characteristics, advantages, and techniques for harnessing each to create stunning images.
Part 1: Understanding Natural Light
Natural light is versatile, free, and constantly changing. Learning to observe and work with natural light will dramatically improve your photography, regardless of your genre or style.
The Golden Hour
The hour after sunrise and the hour before sunset are known as the "golden hours." During these times, the sun is low in the sky, creating soft, warm, directional light that's flattering for almost any subject.
Tips for golden hour photography:
- Plan ahead—use apps like PhotoPills or The Photographer's Ephemeris to predict exactly when and where the sun will rise or set
- Shoot with the sun behind your subject for beautiful rim lighting (backlight)
- For portraits, position your subject so the golden light illuminates them from the side for sculpting shadows
- Work quickly—golden hour light changes rapidly

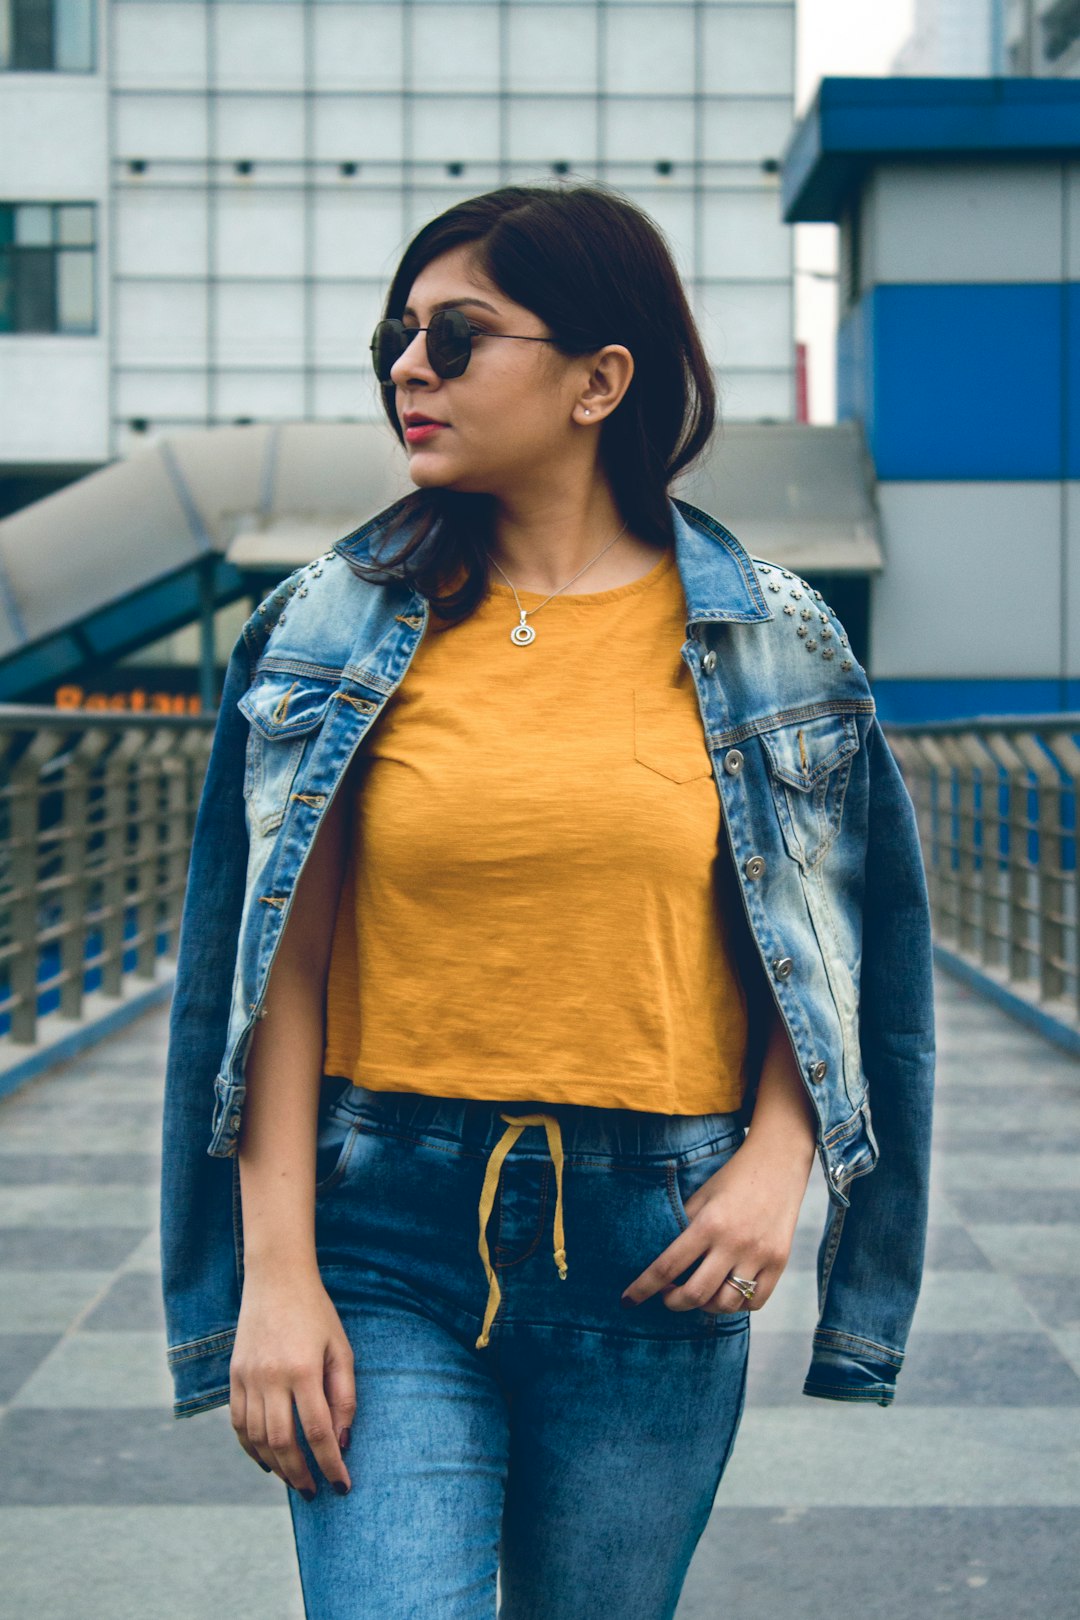
Portrait taken during golden hour showing warm, directional light
The Blue Hour
The brief period just before sunrise or just after sunset is called the "blue hour." The sky takes on a deep blue hue, and there's a beautiful balance between ambient light and artificial lights (streetlamps, building lights, etc.).
Tips for blue hour photography:
- Use a tripod for longer exposures
- Cityscape and architectural photography work particularly well during blue hour
- Expose for the highlights to maintain detail in artificial lights
- Try including both natural and artificial light sources in your composition
Midday Light
Often considered the most challenging time to shoot, midday sun creates harsh shadows and high contrast. However, with the right techniques, you can still create compelling images.
Tips for midday photography:
- Look for open shade—areas shaded from direct sunlight but still receiving ambient light from the sky
- Use a diffuser to soften harsh sunlight for portraits
- Consider converting to black and white to emphasize the dramatic contrast
- Use fill flash to reduce shadow intensity on faces
- Shoot in areas with natural reflectors (light-colored walls, sand, concrete) to bounce light back into shadows
Overcast Light
Cloudy days provide soft, diffused light that's excellent for portraits, macro photography, and colorful subjects like flowers. The clouds act as a giant softbox, creating even illumination with minimal shadows.
Tips for overcast photography:
- Take advantage of the even lighting for close-up details and textures
- Include a small portion of the sky in landscapes to avoid the "flat" look
- Use a polarizing filter to reduce glare and enhance colors
- Consider increasing saturation slightly in post-processing

The same scene photographed in different natural lighting conditions
Part 2: Working with Artificial Light
While natural light offers beauty and variability, artificial light gives photographers precise control. From simple speedlights to complex studio setups, artificial lighting allows you to create exactly the mood and effect you want, regardless of time or weather.
On-Camera Flash
The most accessible form of artificial lighting is the flash built into your camera or a speedlight mounted on your hot shoe. While direct flash often creates unflattering, harsh light, there are techniques to improve its quality.
Tips for on-camera flash:
- Bounce the flash off walls or ceilings to create softer, more directional light
- Use a flash diffuser to spread and soften the light
- Try slow-sync flash for environmental portraits in low light
- Use flash compensation to balance flash with ambient light
- Consider using colored gels to match your flash to ambient light temperature
Off-Camera Flash
Moving your flash away from the camera creates more dimensional lighting and allows for creative effects. This can be achieved wirelessly or with sync cords.
Tips for off-camera flash:
- Start with a single light positioned 45 degrees from your subject
- Use light modifiers like umbrellas or softboxes to shape the light
- Experiment with distance—moving the light closer makes it softer and more dramatic
- Add a second light as a rim light to separate your subject from the background
- Consider using a reflector opposite your main light to fill shadows

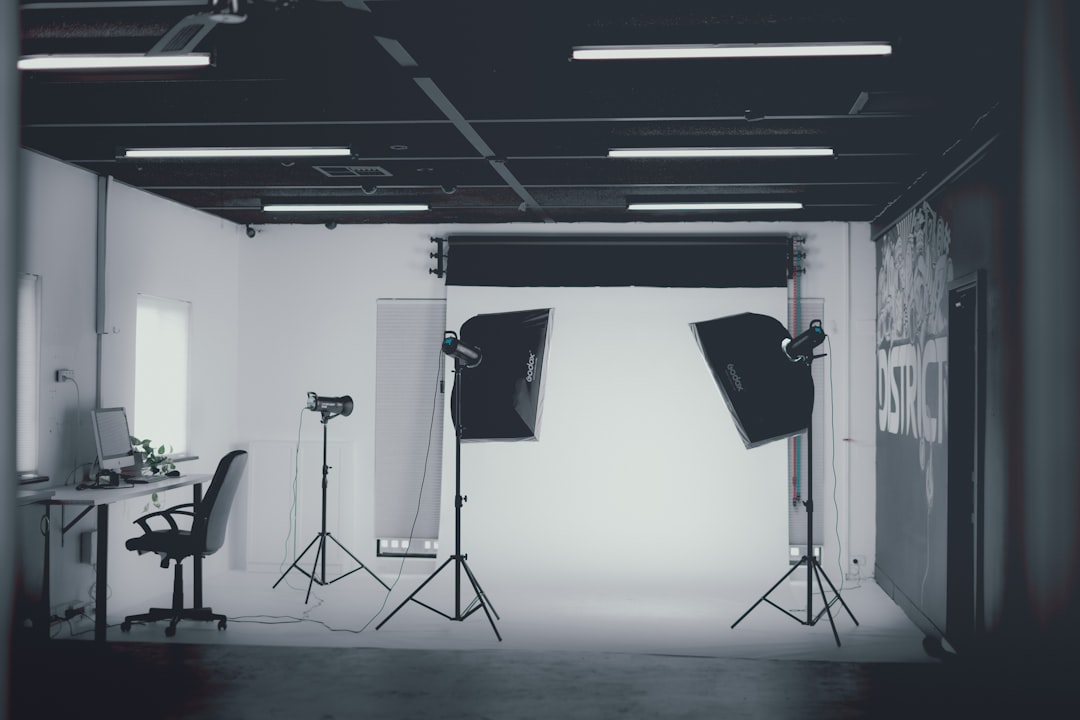
Basic off-camera flash setup with a softbox
Studio Lighting
Studio lighting setups offer the most control over your lighting environment. While complex setups can include many lights, understanding a few basic patterns will help you create professional results.
Basic lighting patterns:
- Loop lighting: Creates a small shadow of the nose on the cheek. Position the light slightly above eye level and about 30-45 degrees to the side.
- Rembrandt lighting: Creates a triangle of light on the cheek opposite the light. Position the light higher and more to the side than loop lighting.
- Split lighting: Illuminates exactly half the face. Position the light 90 degrees to the side.
- Butterfly lighting: Creates a butterfly-shaped shadow under the nose. Position the light directly in front and above the subject.
- Broad lighting: Illuminates the side of the face turned toward the camera. Good for slimming fuller faces.
- Short lighting: Illuminates the side of the face turned away from the camera. Good for slimming faces and creating drama.
Common portrait lighting patterns and their effects
Continuous Lighting
Unlike flash, continuous lighting lets you see exactly how the light falls on your subject before taking the photo. This makes it particularly useful for beginners, video work, and certain styles of portrait photography.
Types of continuous lighting:
- LED panels: Energy-efficient, cool-running, and often dimmable or color-adjustable
- Tungsten lights: Warm-toned, very bright, but generate significant heat
- Fluorescent: Cooler-toned, energy-efficient, available in daylight-balanced options
- Natural light lamps: Designed to mimic daylight, useful for product photography
Part 3: Blending Natural and Artificial Light
Some of the most compelling images come from skillfully combining natural and artificial light sources. This approach allows you to maintain the natural feel of a scene while adding dimension and control.
Fill Flash
One of the simplest ways to combine light sources is using flash to fill in harsh shadows created by natural light. This is particularly useful for backlit subjects.
Tips for fill flash:
- Set your flash to TTL mode and use negative flash compensation (-1 to -2 stops) for a natural look
- Position your subject with the sun behind them and use flash to illuminate their face
- Use a diffuser on your flash for softer fill light
- Balance the exposure carefully—your background should be properly exposed before adding flash
Flash as Main Light, Ambient as Fill
In darker environments, you can use flash as your main light source while allowing some ambient light to fill in the shadows and provide context.
Tips for this technique:
- Underexpose the ambient light by 1-2 stops
- Position your flash to create interesting directional light
- Use gels on your flash to match or complement the color temperature of the ambient light
- Consider using multiple flashes to create dimension
Portrait using flash as main light with ambient window light as fill
Practical Exercise: Light Study
To develop your eye for light, try this exercise:
- Choose a simple subject (a piece of fruit, a figurine, or a willing portrait subject)
- Photograph it in different natural lighting conditions:
- Direct sunlight
- Open shade
- Window light
- Overcast light
- Golden hour
- Then photograph the same subject using different artificial lighting setups:
- Direct on-camera flash
- Bounced flash
- Single off-camera light at 45 degrees
- Two lights (main and rim)
- Light with a softbox or umbrella
- Compare the results and note the quality, direction, and mood of each lighting scenario
Conclusion
Mastering light is a lifelong journey for photographers. The more you observe, experiment, and practice with different lighting scenarios, the more intuitive your understanding will become. Remember that there's no "perfect" light—only light that serves your creative vision for a particular image.
Whether you're working with the golden glow of sunset, the soft wrap of window light, or the precise control of a three-point lighting setup, understanding the characteristics of different light sources will help you create more compelling, intentional photographs.
In our next article, we'll explore post-processing techniques that can enhance the lighting in your images, allowing you to refine and perfect the light you captured in-camera.

You May Also Like
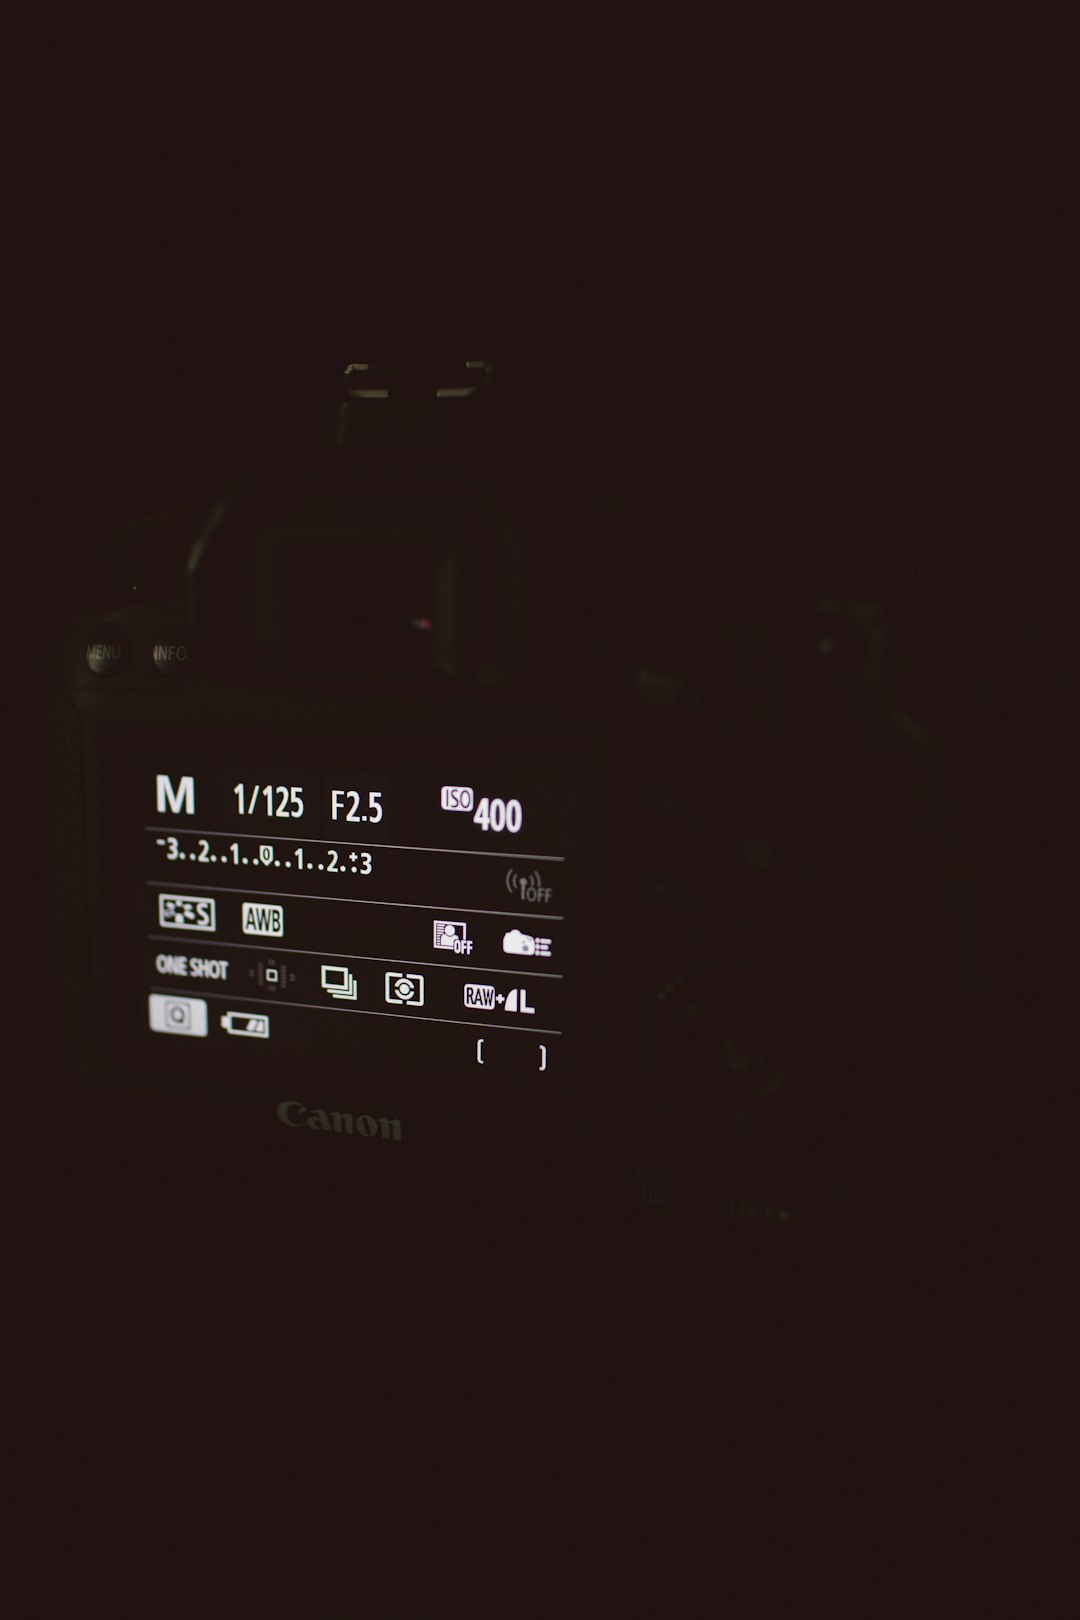
Camera Settings Simplified: A Beginner's Guide
Understanding the exposure triangle is crucial for any photographer. Learn about aperture, shutter speed, and ISO in simple terms.
Post-Processing Like a Pro: Essential Editing Techniques
Discover the power of post-processing with this guide to editing workflows in Adobe Lightroom and Photoshop.
Essential Photography Gear: What You Actually Need
This honest guide cuts through the marketing hype to reveal what gear is truly essential for different photography styles.
Comments (2)
Rebecca Collins
April 10, 2024This article was incredibly helpful! I've always struggled with lighting for my indoor portraits. The explanation of different studio lighting patterns really clarified things for me. I tried Rembrandt lighting yesterday and was amazed by the results!
David Nguyen
April 12, 2024Great comprehensive guide! One question - do you have any recommendations for portable LED panels that work well for both video and still photography? I'm looking to invest in something versatile.
Leave a Comment